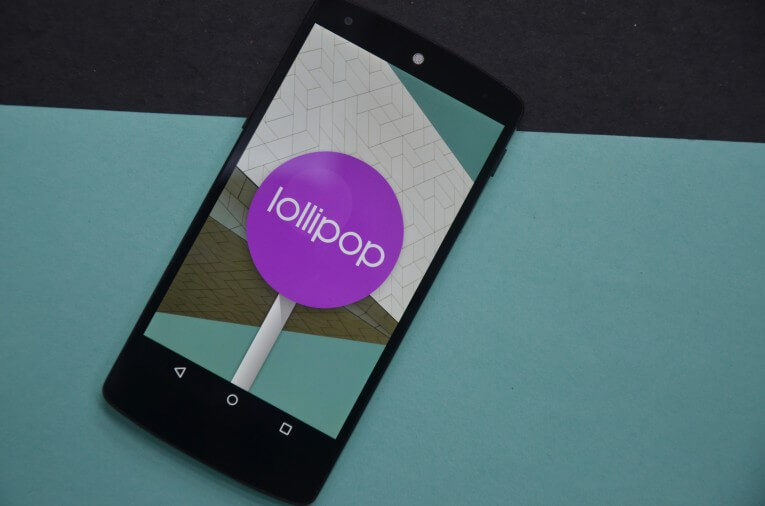
Google announced the Android 5.0 Lollipop OTA update for older Nexus devices namely, the Nexus 4, Nexus 5, Nexus 7, and Nexus 10. Motorola also officially announced the OTA rollout of the latest Android update for its second-generation Moto G and Moto X smartphones. The device that is already running Android Lollipop is the Nexus 6.
Apart from the noticeable differences that Material Design brings about, as well as the overhauled notifications drawer, Lollipop flaunts numerous features, lots of which are security ones. Here are some of our favourites.
1. Do not disturb Modes (None, Priority, All)
Android Lollipop gives the users the option to choose which apps they consider as most important, and others are kept away from disturbing them. Once the priority mode has been enabled, only the chosen apps will be able to communicate with you. After that time goes by, the priority mode will get disabled by itself.
You can change modes by pressing either the volume up or down button on your device. Just below the volume slider you will find three options: None, Priority and ALL. Selecting All will allow all calls, messages and alerts to come through. Priority mode allows only the notifications you’ve set to come through. You can set duration for the Priority Mode’s working. None mode completely silences the device and allowing no alerts to come through, not even alarms.
2. Multiple User Option
Android has allowed multiple user accounts on tablets for awhile, but in Lollipop there’s a new option called Guest Mode that works on phones also. You can create a guest account, or if you and family member share a device, you can create an account for each of you, keeping all your things separate and secure. Only you can log into your account and phone, and you can now use an Android watch to unlock your phone through proximity. Your guest can even quickly login to their account to check email. You or your guest can get rid of the data inside the guest account at any time.
You can access multi-user settings two different ways. The first is by launching the Settings app and selecting Users from the list of options. The other method requires you to tap on the user icon when viewing the Quick Settings menu. The latter method also provides a method for quickly switching between accounts from anywhere on the device, including the lock screen.
3. New Quick Settings
Quick Settings allows you to enable or disable common features such as Bluetooth, Wi-Fi, location and screen brightness. It also includes built-in tools for flashlight, hotspot and screencast controls so that you can do away with many of the third parties apps that you had to rely on before. There is also a toggle for the flashlight built right into the Quick Settings menu.
Quick Settings menu is accessible either by swiping down from the top of the screen or expanding notifications with a single finger and then dragging down a second time.
4. Smart lock
To help ensure users utilise the screen lock on their Android devices, Google has introduced a Smart Lock feature in Android 5.0 Lollipop. It essentially lets you bypass your secure lock screen when you’re in a “trusted environment.” This means that if you’re connected to a known Bluetooth device or near a pre-programmed NFC card, you don’t have to bother entering your pattern, PIN, or password. Also included is a face unlock feature that continually scans the user’s face instead of analyzing a snapshot at the moment of unlocking.
5. Screen Pinning
The latest version of Android offers a new feature “Screen Pinning.” When enabled, you can lock down your device to whatever app is on-screen, no matter how many times you press the Home soft key. So a person using it only has access to one app whatever app is on-screen. It’s most useful for those of you with kids in the house or if your handing your phone or tablet to someone stranger.
To enable the feature, first go to Settings > Security and scroll down to the bottom, where you’ll find the screen pinning toggle. Make sure it’s switched on. Then just open the app you want to pin and tap the Overview button. The most recently used app will appear first here, and it will show an icon with pushpin. Tap the icon and you’ve just locked the phone to use only the current app.

